Developing ij-Plugins using IntelliJ IDEA > Configure Project

Once you completed creation of the project in the previous step, you are ready to configure locations of sources and dependencies.
Here are the steps
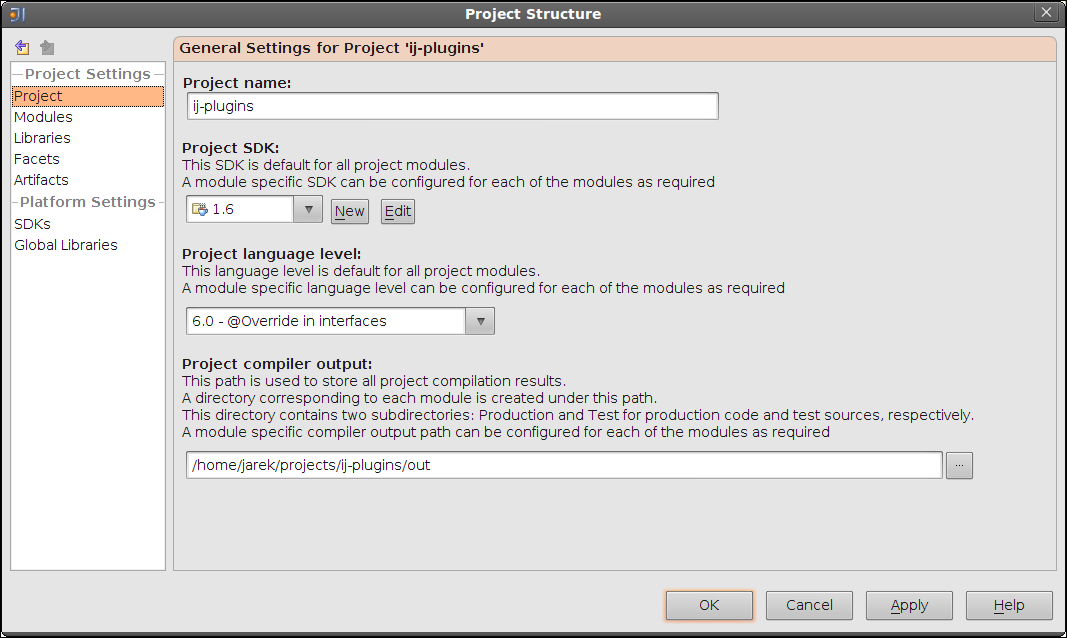
  1. Open project configuration dialog by selecting File > Project Structure.
  2. Select Project Language Level as 6.0

    02_checkout_from_subversion

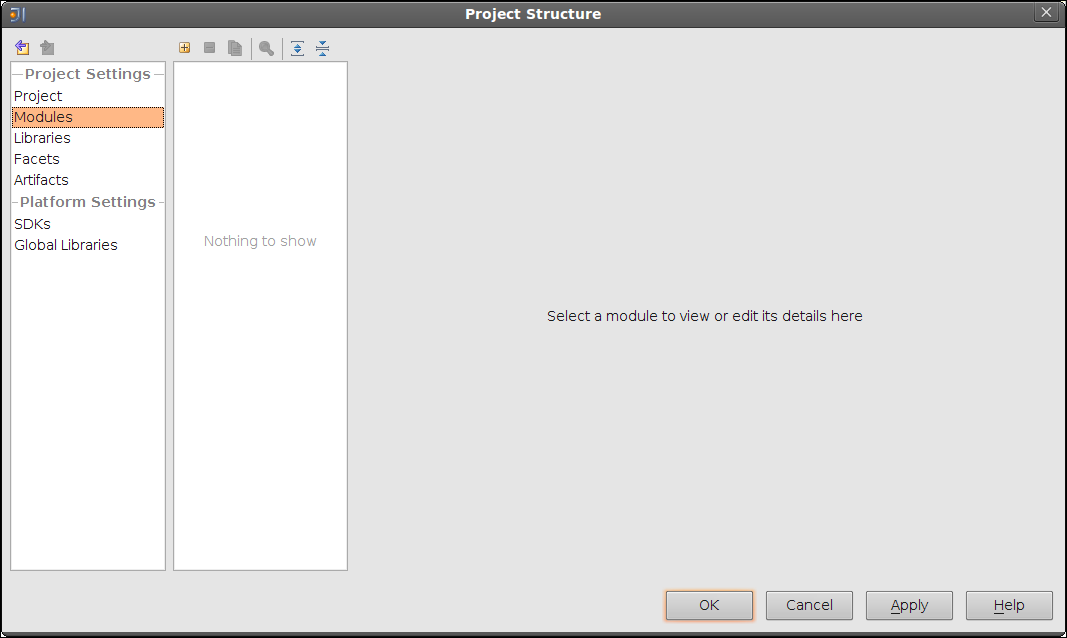
  3. Select Module in the left pane and create new module by clicking on "+" icon

    02_checkout_from_subversion

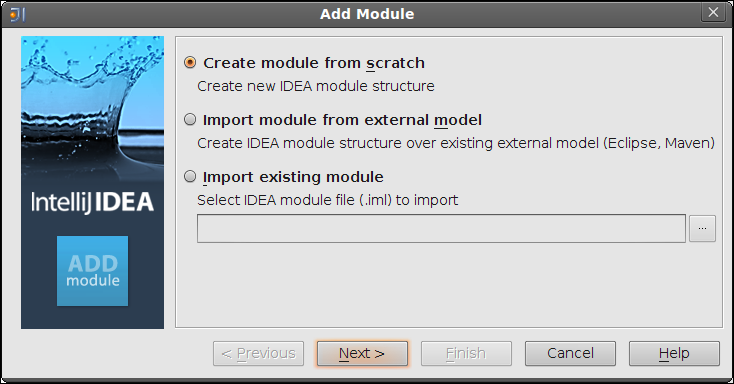
  4. In "Add Module" dialog select "Create module from scratch". Click "Next"

    02_checkout_from_subversion

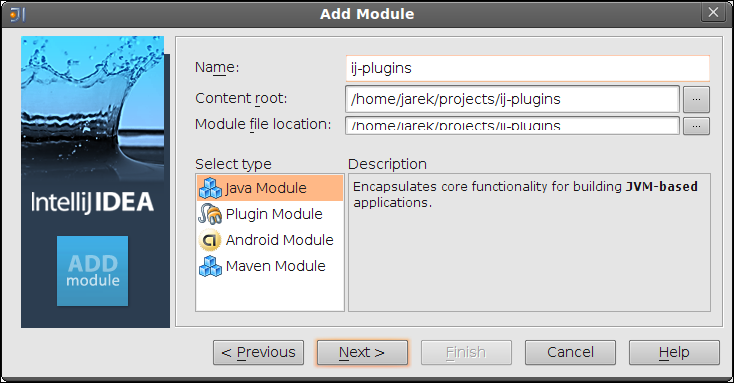
  5. In the field "Content root" select location of the previously created project. Click "Next"

    02_checkout_from_subversion

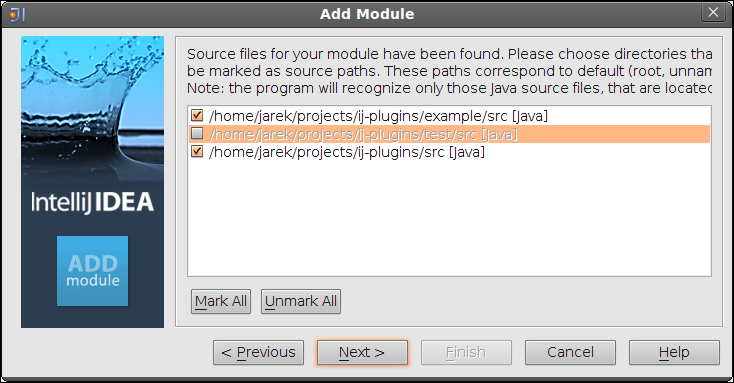
  6. Deselect location of test sources. Click "Next".

    02_checkout_from_subversion

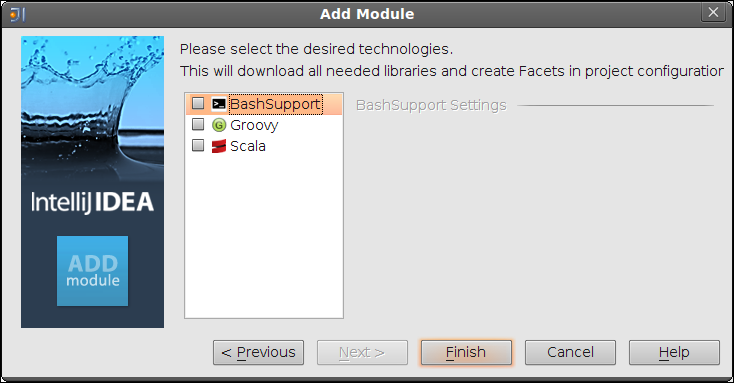
  7. Click "Finish" complete adding new module.

    02_checkout_from_subversion

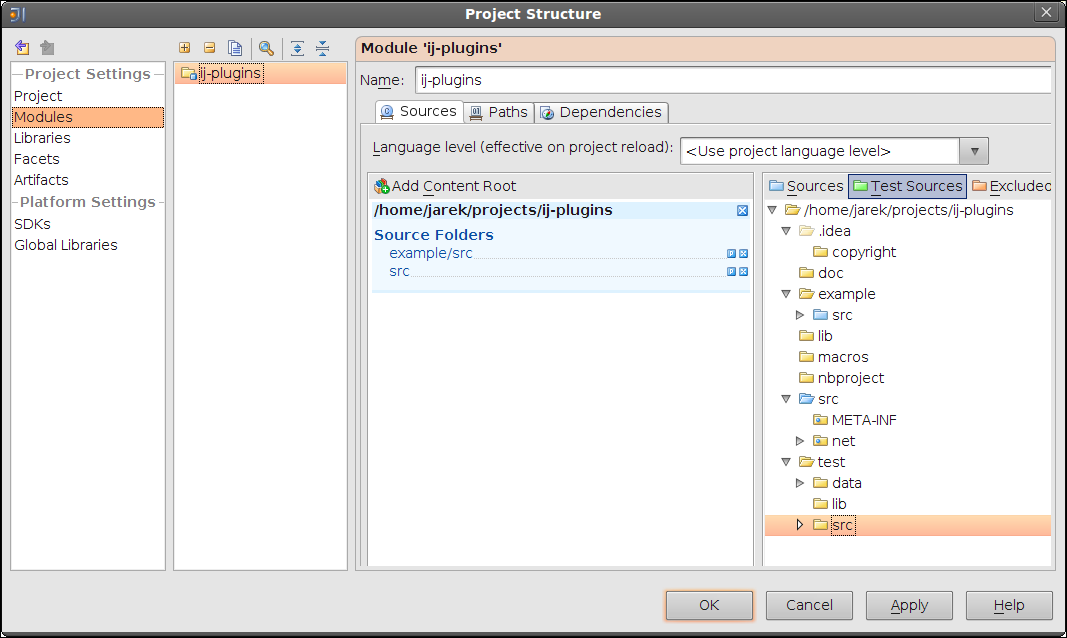
  8. Now you can add location of test sources. Select test/src in the right pane. Then click on "Test Sources" above it to test sources as a test content root.

    02_checkout_from_subversion

  9. Add location of libraries. Select test/src in the right pane. Then click on "Test Sources" above it to test sources as a test content root.

    02_checkout_from_subversion

  10. Click on "OK" to close "Project Structure" dialog.

At this point you project should be correctly configured. Test it by running a fresh build, select Build > Rebuild Project. Except some possible warnings, the project should build without errors.

Now it would be nice to start ImageJ with all plugins from this module loaded. The next step describes how to do it.